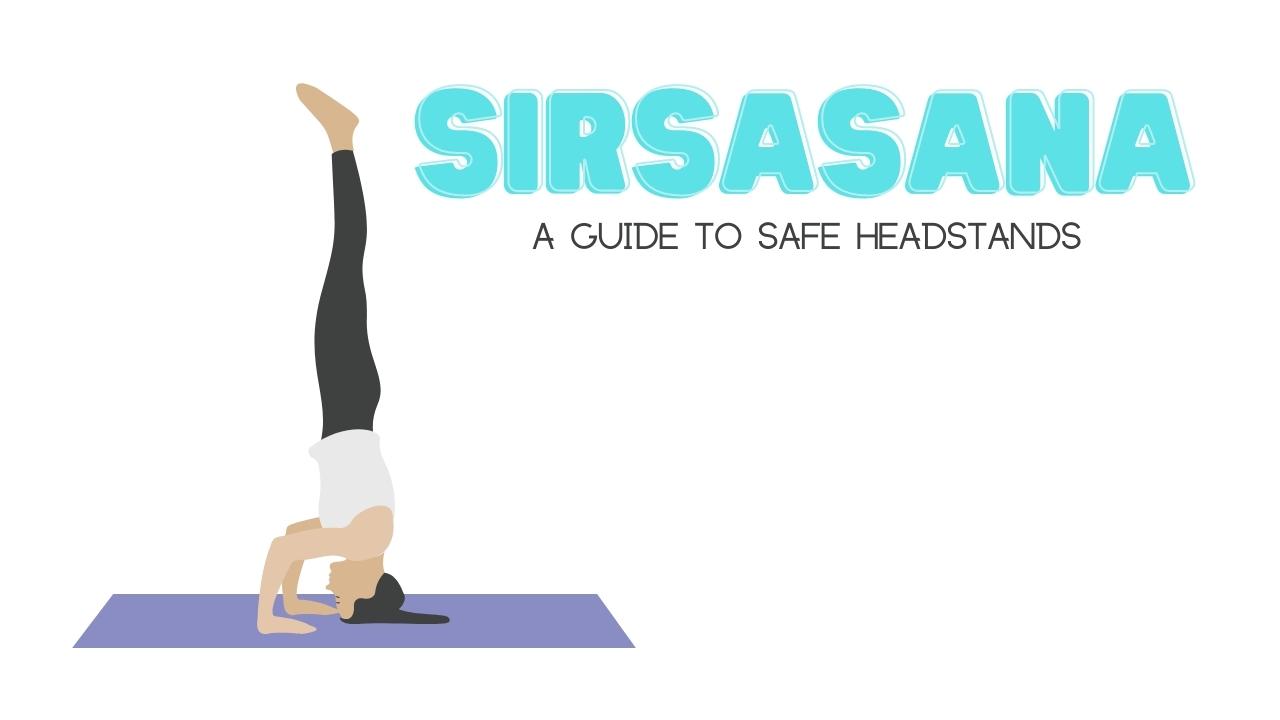
Sirsasana, or as most know it, the headstand, is one of our favorite Yoga poses – and for a good reason. While scary for beginners, it is relatively easy to learn and well worth the benefits you gain through its practice. In this article, you will learn everything you need to know about Salamba Sirsasana (supported headstand).

Table of Contents
- What is Salamba Sirsasana?
- Pose Overview
- Sirsasana Benefits
- How to do Sirsasana
- Sirsasana Beginner Tips
- When not to practice Sirsasana
- How long to stay in Sirsasana
- Summary
What is Salamba Sirsasana?
Translated, Salamba means supported and Sirsa means head. It is called “supported headstand” because there is also a version that does not include support, which means standing on the head without the use of the arms. This, according to some Yoga books, is the ultimate goal of Sirsasana (we would like to disagree with this last statement, but more on that later).
Salamba Sirsasana is widely considered to be one of the most important Yoga asanas. It comes in many different variations, but its most basic form alone brings you many health benefits if practiced regularly. By mastering this pose, one can increase mental fortitude while improving physical strength and balance.
Pose Overview
Sanskrit Name: Sālamba Śīrṣāsana
Western Name: Supported Headstand
Yoga Pose Type: Inversion
Preparation: 3x Sun Salutation A (not required)
Follow-up: Salamba Sarvangasana
Why we love this Yoga Pose: We love Salamba Sirsasana because it challenges you to learn something difficult and because, if practiced regularly, you can reap incredible health benefits. We personally practice Salamba Sirsasana for at least 5 minutes every single day.
Sirsasana Benefits
Sirsasana isn’t called the “king of all asanas” for no reason. There is a multitude of benefits that one can reap with regular practice:
- Increases blood flow in the brain and helps to purify and renew brain cells, resulting in higher overall clarity.
- Helps with tiredness.
- Improves sleep and increases your overall energy levels.
- Helps with colds, coughs, halitosis, and tonsillitis.
- Keeps the body warm.
- Increases hemoglobin levels in the blood.
- Improves blood circulation throughout the body.
- Combined with Sarvangasana it can be a major relief for constipation.
- Helps with digestive issues.
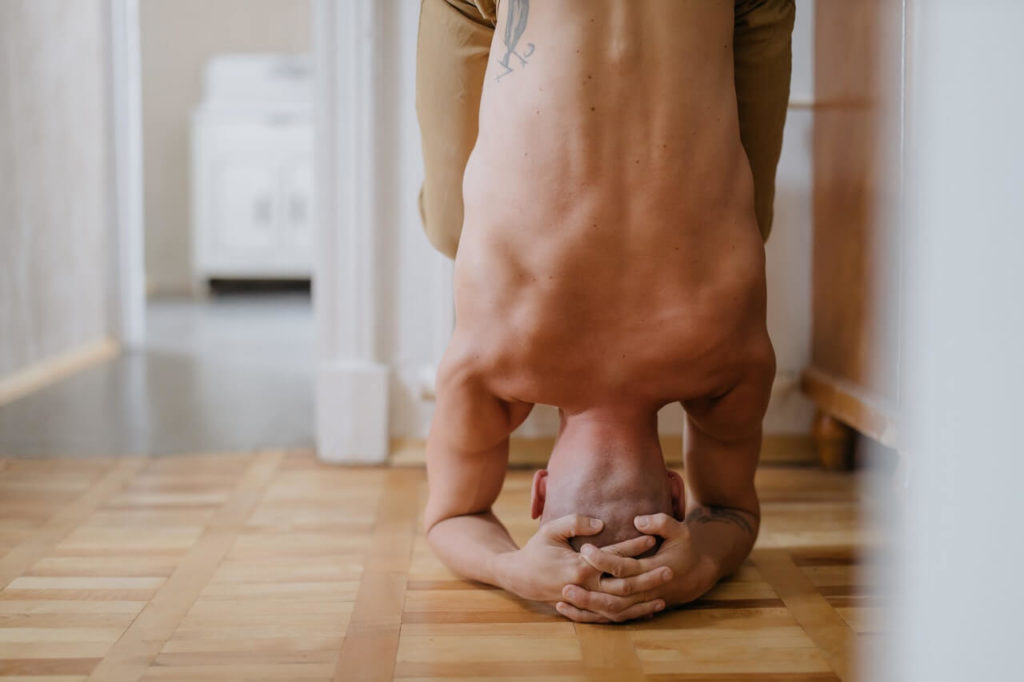
How to do Sirsasana
The most important precaution of Sirsasana is: Never kick up your legs into Sirsansa (like you would do in a handstand). This will only result in you flipping over and injuring yourself.
- Fold a blanket and put it on the floor for better head support.
- Get down on your hands and knees in table-top position and rest your forearms on the center of the blanket. Place your elbows directly beneath your shoulders.
- Ground your forearms down.
- Cup your hands into each other to provide support for the back of your head.
- Tuck your toes, lift your knees and hips and step your feet closer to your elbows.
- Place the crown of your head on the blanket so that the back of your head rests against your cupped hands.
- Push from your side ribs down through your forearms.
- Step your feet in closer and lift your hips higher slowly until airborne.
- Stay in the pose as long as comfortably possible – don’t move your head.
- To come back down, engage your core and slowly bring your feet back down to the ground. You can also bring down one foot at a time.
- Make sure to keep control and a firm core throughout Sirsasana.
Sirsasana Beginner Tips
Sirsasana can be a scary pose for beginners, especially those new to inversions. Gladly, there are a couple of things you can do to practice the pose in a safe way. We do not recommend trying to learn Sirsasana on your own and without guidance. Seeking guidance from an experienced Yoga teacher when learning this Asana is highly recommended. Not only will you progress faster, but you will also get the help of a professional who helps you to avoid postural mistakes that are hard to unlearn later on.
- Practice with your back against the wall. This prevents you from falling over and gives you extra security when practicing to get your legs up. But don’t get used to the wall too much, it is hard to remove this habit later on as you will rely on it too much. Once you are able to safely get your legs up against the wall, practice by slowly removing one leg at a time from the wall until you are able to balance without the support of the wall. Once you are there, stop using the wall.
- Do one step at a time. At first, try to get one leg up and leave the other leg angled, so you are closer to the ground in case you can’t make it all the way up. Once you have one leg up comfortably, add the other leg to it until fully airborne.
- When practicing Sirsasana without the wall, place a couple of big pillows or blankets behind you (facing your back). A huge bean bag is ideal. In case you fall down (which rarely happens), you fall soft and don’t injure yourself.
- Start with small increments. First start by staying in Sirsasana for 10 seconds, then increase it to 15, 20, and so on. It is key that you don’t force anything.
- Practice getting out of the pose with grace and slow. The more control you have, the better. You don’t want your feet smashing into the floor every time you come out of the pose.
When not to practice Sirsasana
If you have any type of health issues, always make sure to consult a medical professional before engaging in inversion or advanced Yoga positions. Some cases in which you shouldn’t practice Sirsasana are:
- Pregnancy
- Moon Cycle
- Neck Injuries
- Recent surgeries
How long to stay in Sirsasana
There is no limit. You can stay in Sirsasana for as long as you feel comfortable. Avoid strain on the neck and know your limits. Some advanced practitioners stay in this pose for as long as two hours and use it as a meditative practice. We personally stay in the pose up until around 15 minutes occasionally, and mostly up to 5 minutes.
Summary
Sirsasana is by far one of our favorite Yoga poses due to its benefits. If you dedicate yourself to practicing this pose daily for 30 days, you should start to see some of the health benefits yourself. It is always recommended to follow up Sirsasana with Salamba Sarvangasana, which will close the cycle.